Navigating Pioneer 2
Previous: Getting In A Game Index Next: Mags
Pioneer 2 is the colony ship hovering over Ragol. Pioneer 2 is afraid to land on Ragol because of what happened to its sister ship Pioneer 1. It’s up to you, as Hunters, to investigate the matter.
The Hunter’s Guild The Medical Center The Principal’s Office The Check Room The Shops The Ragol Teleporter
The Hunter’s Guild
At the Hunter’s Guild on Pioneer 2, you can accept quests sponsored by different clients in order to get down to the bottom of things.
You accept these quests by visiting the guild counter.
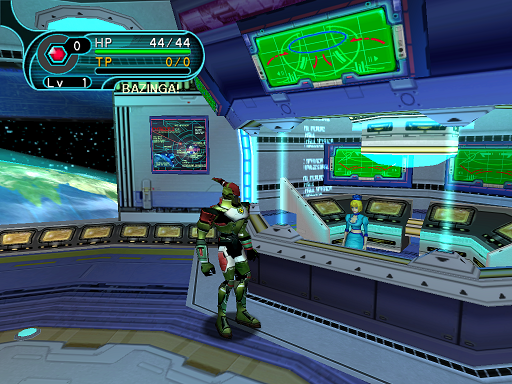
Speaking to the receptionist at the guild counter will bring up a list of quest categories.
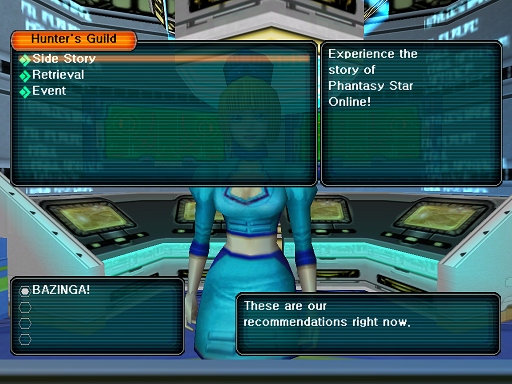
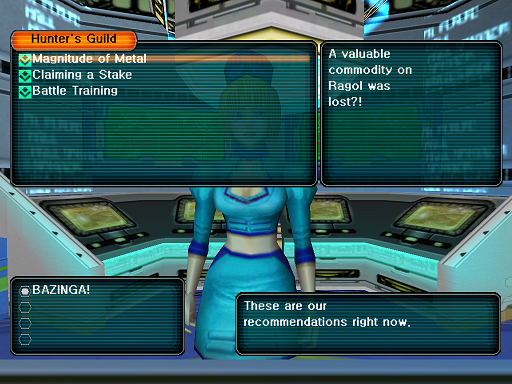
Selecting a quest category will bring up a list of quests associated with that category. In Episode 1’s One Person mode, doing Side Story quests will unlock MORE Side Story quests. In Multiplayer mode, doing Government quests will unlock MORE Government quests.
The Medical Center
Also on Pioneer 2 is the Medical Center.
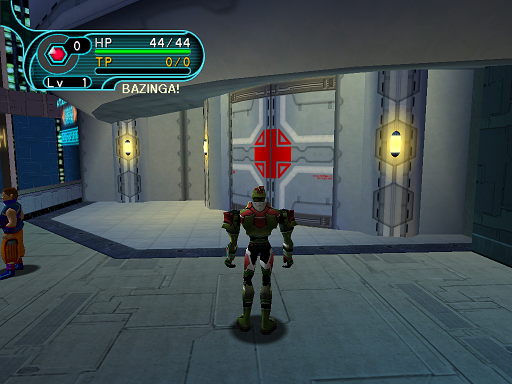
Inside of the Medical Center, you can find the Nurse.
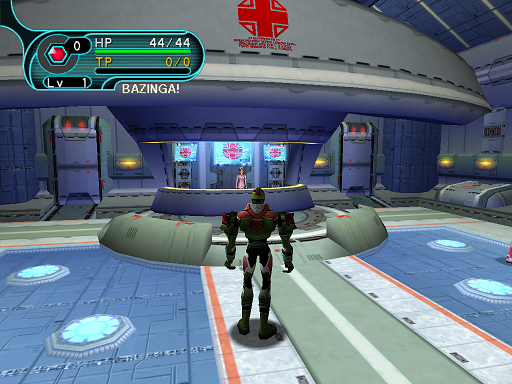
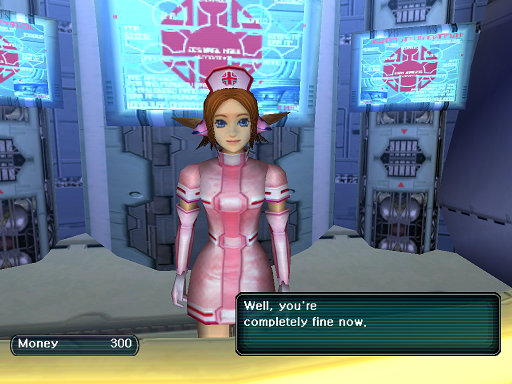
Speaking to the Nurse while in not perfect health will restore HP, TP, and all Android traps.
Speaking to the Nurse while in perfect health will just have her shooing you away.
You’ll find a small warp on Pioneer 2…
The Principal’s Office
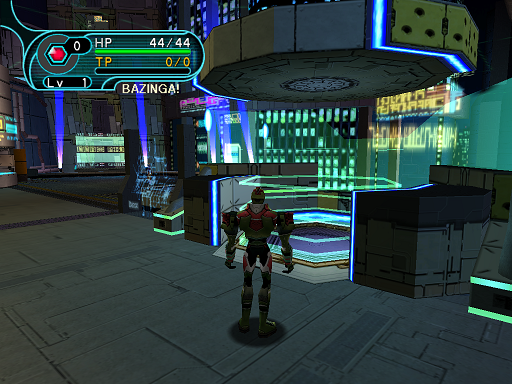
Entering this warp will take you to the Principal’s office…
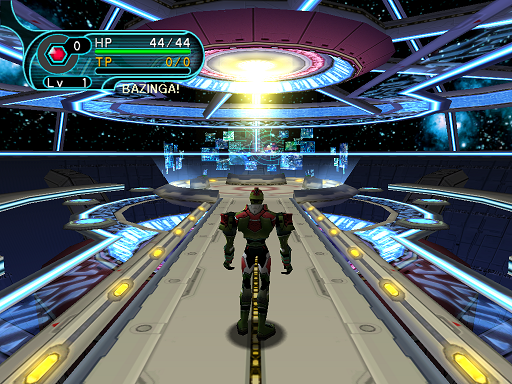
When you are in multiplayer mode, and during certain quests, this office will be populated with the Principal and his staff. You can accept and complete additional quests here.
The Check Room
By default, you can only carry up to 30 items on your character at a time. Of course, being the pack rat you are, you want to be able to have more than that, right?
That’s where the Check Room comes into place…
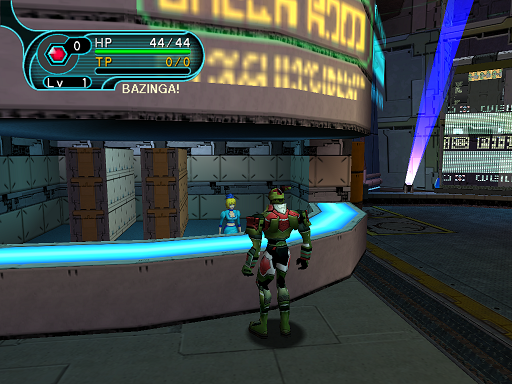
At the Check Room, you can deposit items as well as meseta for safe keeping.
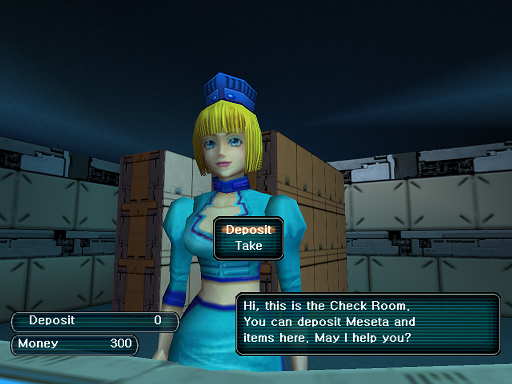
You can withdraw your items and equipment at any time. Furthermore, typing /bank before accessing the Check Room allows you to change between a bank that is just for your character and a bank that is shared among all characters on your account. Very useful for item transfers.
The Check Room holds 200 items and an additional 999,999 meseta.
What’s meseta you say? Why, that’s the currency of Pioneer 2! You’ll need it at…
The Shops
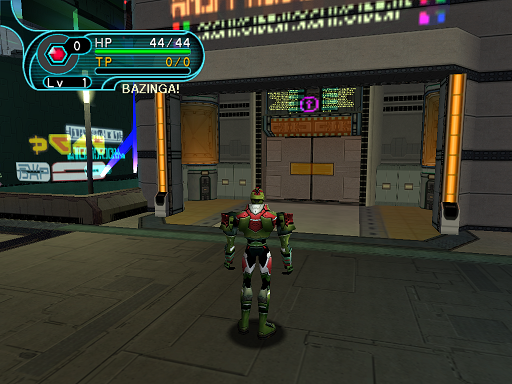
Ah, yes, the Shops. Pioneer 2’s own mini-mall. Here you can purchase many a thing. However, the best items you can get from the game can only be found while adventuring. The Shops serve as a great starting point for obtaining good gear and offloading your junk for meseta.
Once you enter the shops, you’ll see four unique vendors.
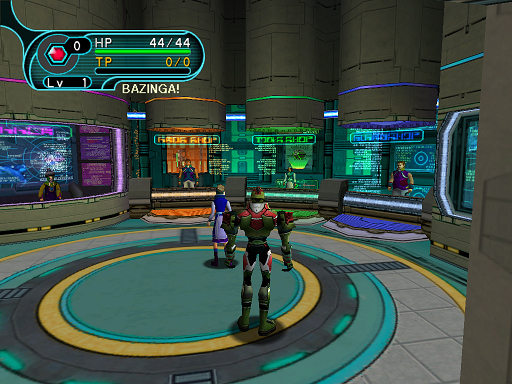
We’ll explain the vendors from left to right… First up, the Tekker.
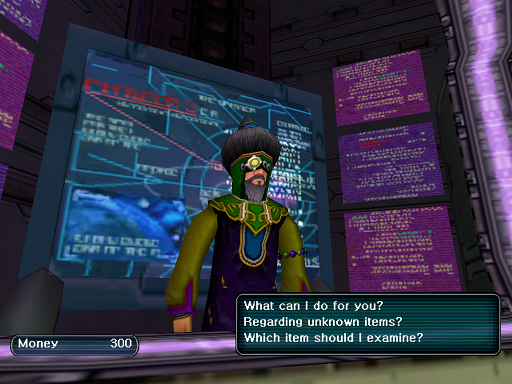
When you find a weapon in the game labeled with question marks or simply titled “SPECIAL WEAPON”, you can bring the unknown item to him to be identified.
He will reveal what weapon you’ve found as well as any special attributes your weapon may possess.
You can chose to whether or not to believe his claims. Sometimes, rejecting his claims and asking him repeatedly may yield you a weapon with better attributes. Be careful, though, once you believe his appraisal there is no reversing that decision.
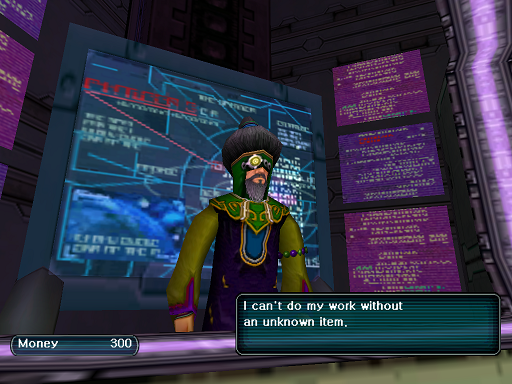
You can’t interact with the Tekker without an unknown item and he’ll kindly tell you to return later if you try it.
Next up… The Arms Dealer…
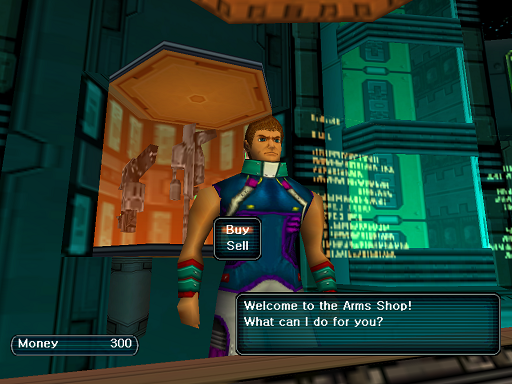
This guy is all too eager to sell you anything you need to rip your opponents limb from limb.
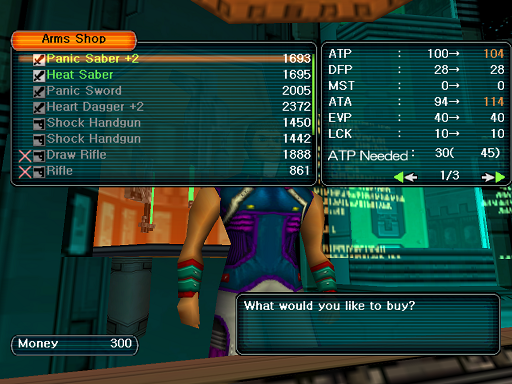
You can find weapons of different types and attributes here. Stock changes based on your character level and section ID, so check back often. You may find something worth while that you can use for a long time if you’re lucky!
Next up… The Tool Shop…
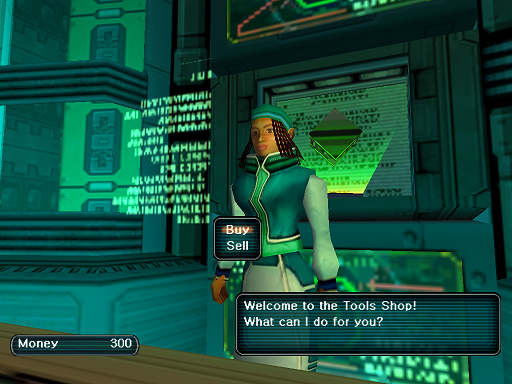
This delicate flower will sell you all sorts of recovery items and technique disks so that you can always be in tip-top shape.
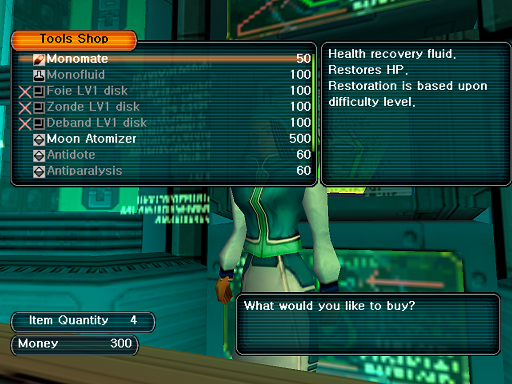
Again, stock changes based on character level and section ID. Check back often!
For the final shop keeper? We have the Guards Shop!
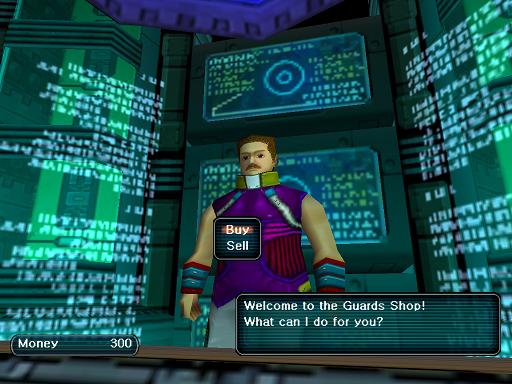
This is where you buy the equipment that protects your dangly parts from harm.
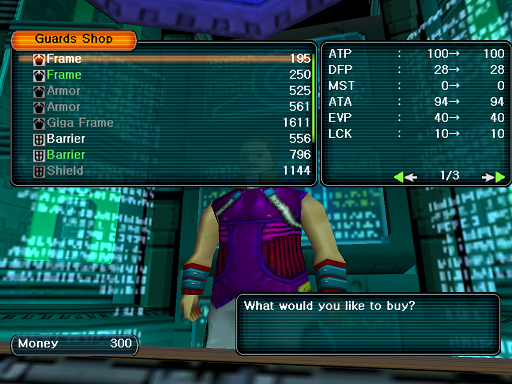
This guy carries various frames, shields, and slot units for you to equip. It should go without saying, based on the previous shops, that stock changes based on your character level and section ID.
The Ragol Teleporter
Whether or not you’ve taken a quest, but after you’ve finished banking and shopping, when you’re ready to go out on an adventure, approach the main teleporter.
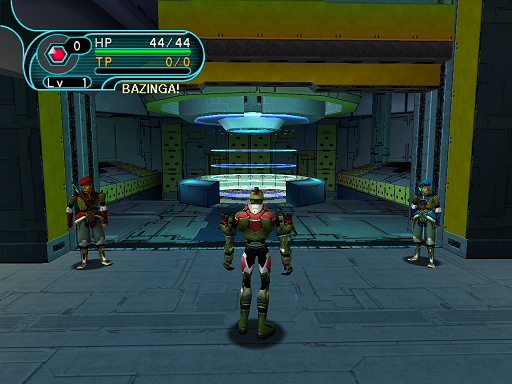
As you stand on the teleporter, you’ll see a list of areas that you’ve been given access to for exploration.
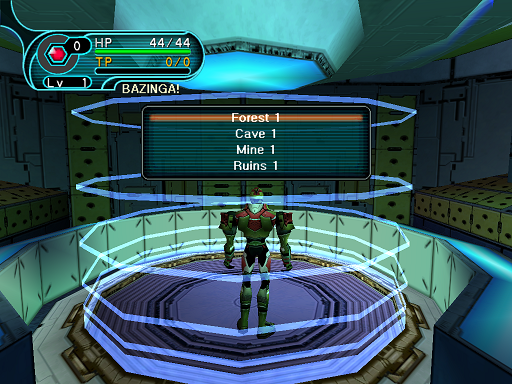
Select an area using your gamepad or arrow keys and enter combination.
Your body will begin to be ripped apart…

… and you’ll eventually end up at your final destination.
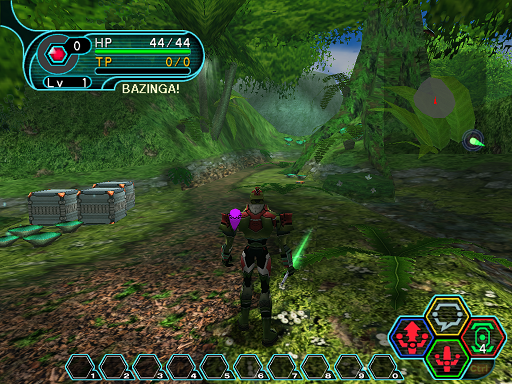
Once down on the planet, you can control your character using your gamepad or the keyboard WASD keys in the default controls.
In order to return to Pioneer 2, you will have to return the same way you arrived on the planet or use an item called “Telepipe”. A Telepipe creates a portal underneath your character for you to return to Pioneer 2 with. You can also return to Ragol through the same portal, but it will disappear when you do so. If you have the ability to learn techniques, you can also learn the technique “Ryuker” to cast a free Telepipe.
